Auto refill (for GTC listings)
If the item you're selling have abundant inventory and yet you don't want to list the real QTY to eBay at one time, you can also use our auto refill feature to achieve smart refill by lots, which in a row, save your time and energy from manual tracing and updating.
Ⅰ. Add auto refill rule
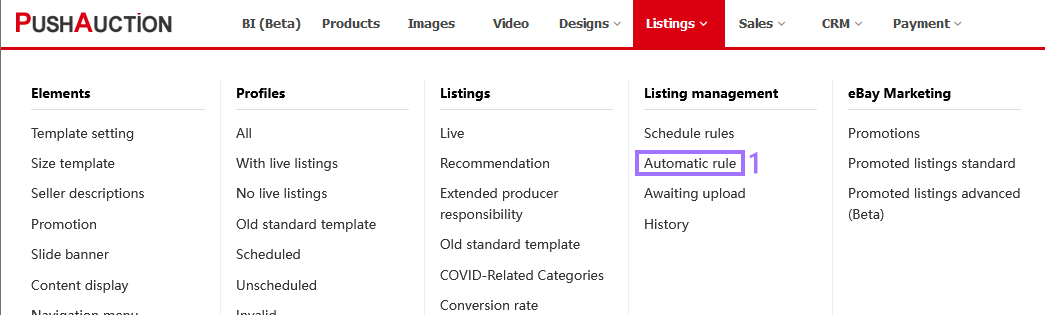
Step 1: Click [Listings] > [Automatic rule];
Step 2: Click [Add] on the top-right;

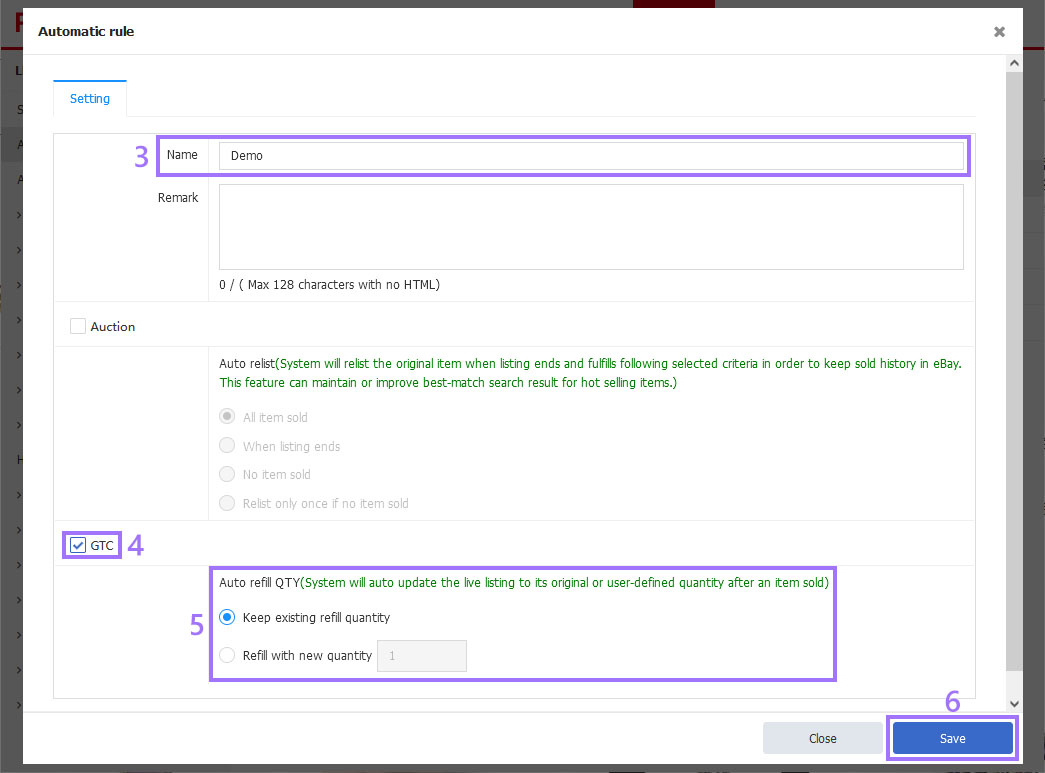
Step 3: Enter the rule name > Tick the [GTC] > Select a preferred achieving way (for the difference between the two ways, please refer to below text Note -> Article 4 > Click [Save].
Ⅱ. Apply auto refill rule
If you want to enable auto refill feature at the moment when the listing is published, you can publish this listing through a schedule rule with an auto refill rule attached. For more details, please refer to Set schedules. Nevertheless, you can also enable this feature after the item is published or update the current auto refill rule of a live listing as you like.
(1) Single listing apply auto refill rule
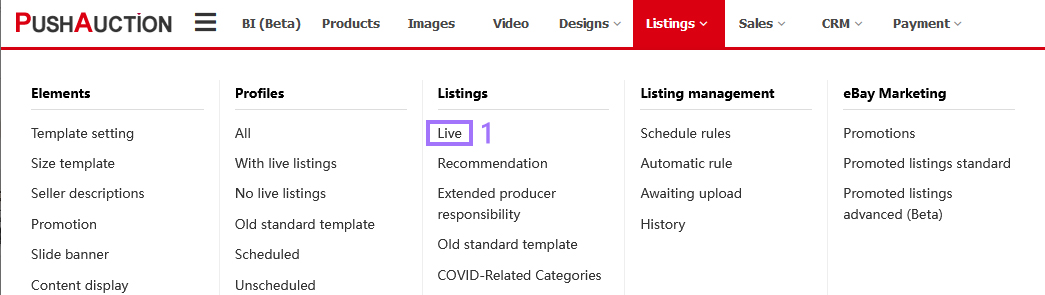
Step 1: Click [Listings] > [Live];
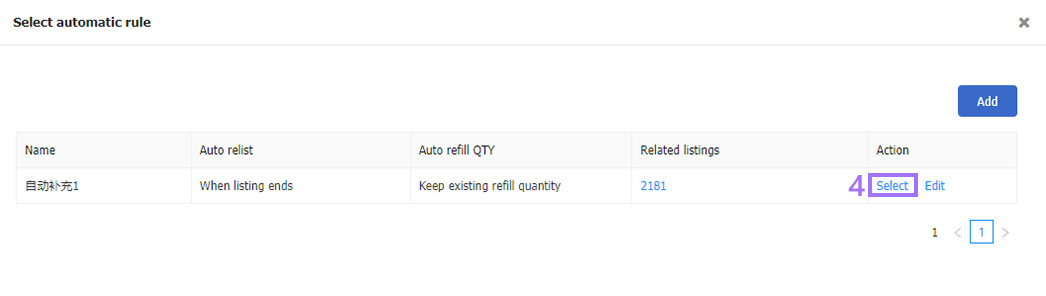
Step 2: Click [Action] on the right of the listing > [Select automatic rule];
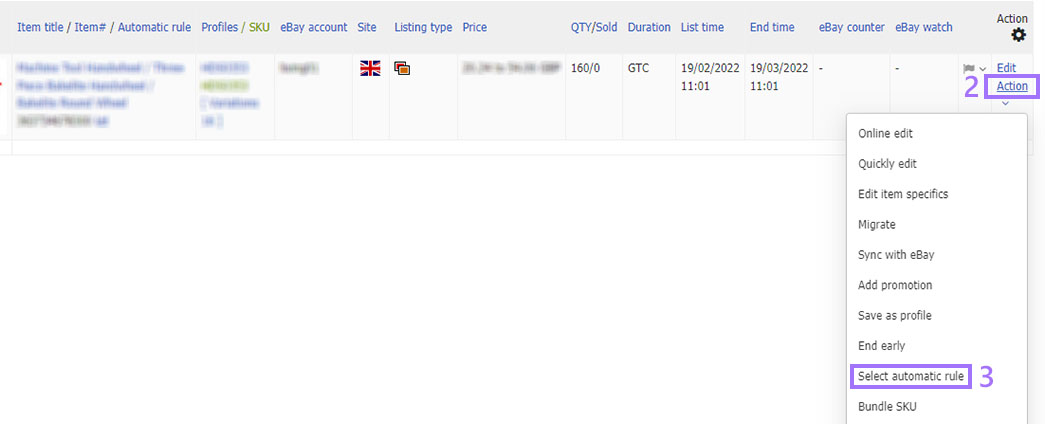
Step 3: Click [Select].
(2) Multiple listings apply auto relist rule
Step 1: Click [Listings] > [Live];
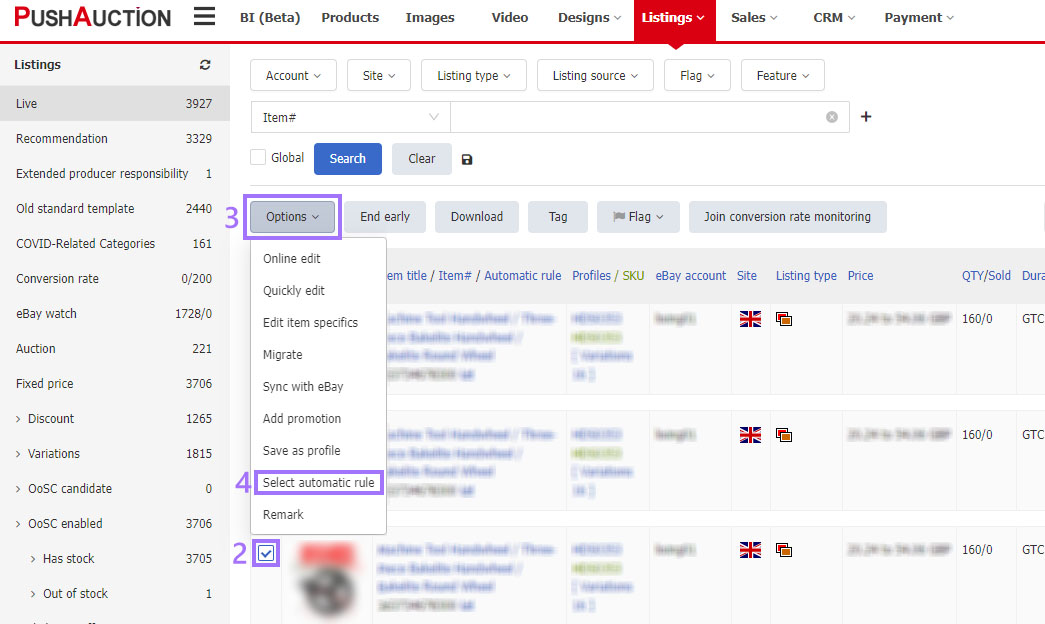
Step 2: Tick the listing(s) > Click [Options] > [Select automatic rule];
Step 3: Click [Select].
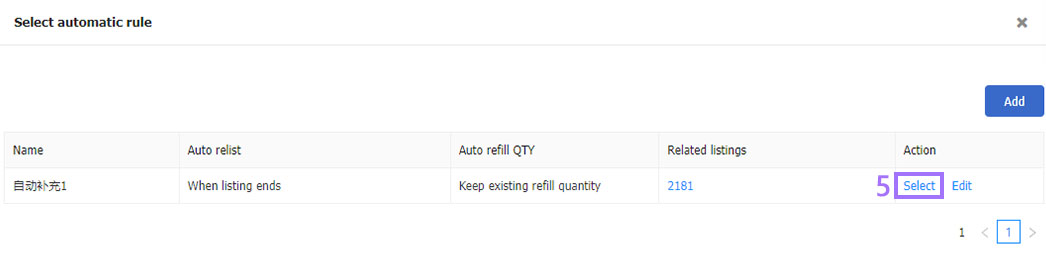
When selection is complete, the rule would be applied to the designated listings. All the previous rule (if any) would be overwritten, and the new rule has the final say.
Ⅲ. View auto refill logs
Auto refill logs allow you to track all the refill requests and proceeding outcomes beneath current master PushAuction account for the recent 7 days. But please note the auto refill would be proceeded successfully only when remaining available QTY is less than requested refill QTY.
Step 1: Click [Listings] > [History];
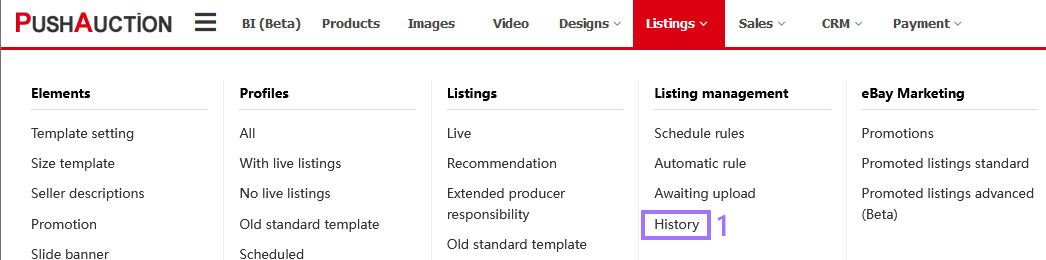
Step 2: Click [Auto Refill].

Ⅳ. Remove auto refill rule
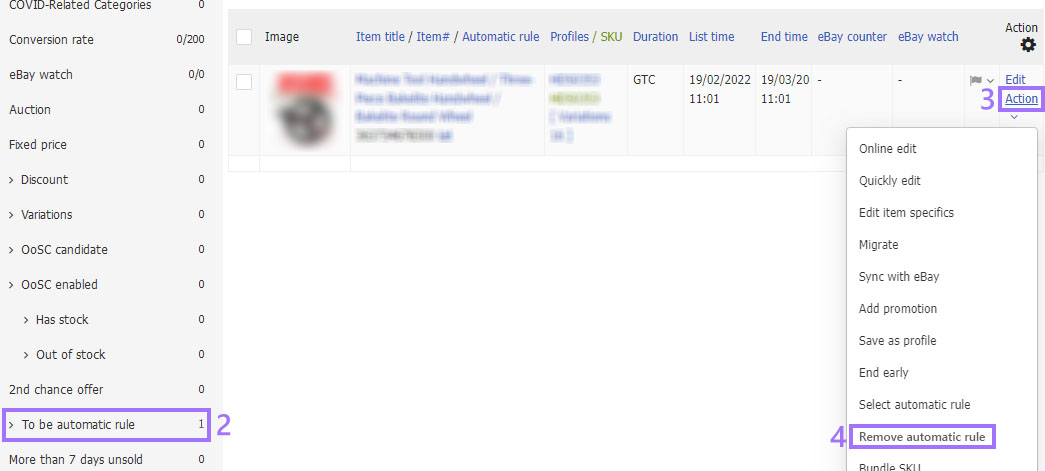
(1) Single listing remove auto refill rule
Step 1: Click [Listings] > [Live];
Step 2: Click [To be automatic rule] > [Action] of desired listing > [Remove automatic rule].
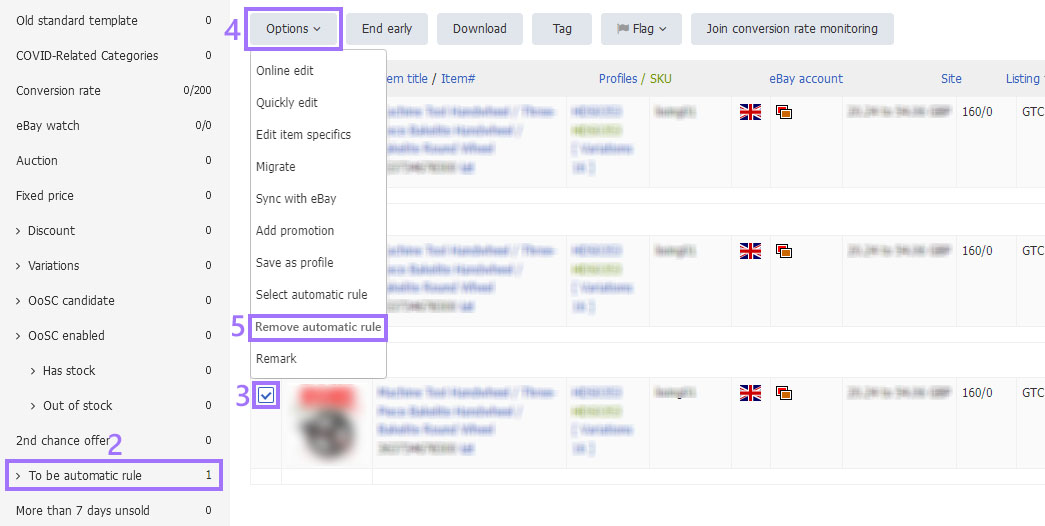
(2) Multiple listings remove auto refill rule
Step 1: Click [Listings] > [Live];
Step 2: Click [To be automatic rule]> Tick listing(s) > Click [Options] > [Remove automatic rule].
Ⅴ. Delete auto refill rules
If you deletes the auto refill rule, all the related listings will be removed at the same time.
Step 1: Click [Listings] > [Automatic rule];
Step 2: Click [Action] of desired rule > [Delete].

Note:
1. The auto refill and relist rule is defined in the same page of system. But you can only tick one of the fields to make it a single rule, because the auto refill rule applies to fixed price and variation listings, and the auto relist rule applies to auction listings.
2. You can apply auto refill rule for your variations. Select [Keep existing refill quantity], and then go to the listing editing page to set the supplementary quantity of platform sub SKUs. If there is any SKU that does not require supplementary execution, its quantity can be set to 0;
3. System will auto update the live listing to its original or set quantity after an item sold, that's, when one buyer placed an order, unless the listings end.
4. There are two ways to achieve auto refills, one is to keep existing refill quantity, for instance, the original available QTY is [10], then system would auto refill and keep the QTY as [10] after one item sold; the other is to refill with newly defined quantity, for instance, the original available QTY is [8], the defined refill QTY is [9], then system would auto refill and keep the QTY as [9] after one item sold.
5. If a listing has not enabled OoSC, then it would end after all items sold, that's when the QTY becomes zero, at this time the auto refills would not come into effect anymore.
Article Number: 585
Author: Mon, May 23, 2016
Last Updated: Tue, Aug 12, 2025
Online URL: https://kb.pushauction.com/article.php?id=585